Saving Metanorma Word Documents

 on
16 Apr 2020
on
16 Apr 2020
Saving Word Documents
Metanorma encourages management of document content in a declarative, single-truth, manner — yet in many cases, it is important to produce Microsoft Word output:
-
to solicit feedback, from people who do are unfamiliar with Metanorma and Git
-
e.g., for standards balloting and review, via Word’s “Track Changes” features
-
-
to generate a “redline” document from two document revisions
-
e.g., for review compared across document stages
-
-
to submit to legacy publication workflows
-
e.g., to ISO Central Secretariat at DIS stage and beyond
-
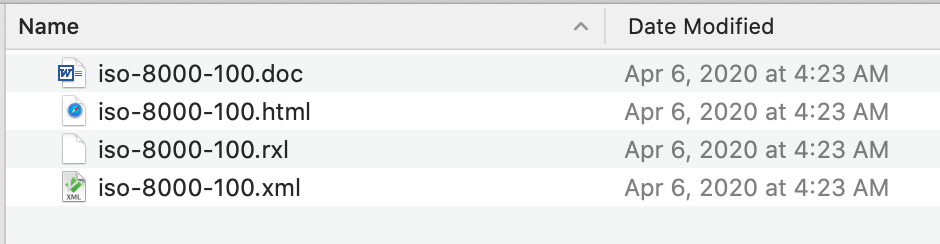
Metanorma generates .doc not .docx files
(see rationale).
Since the .doc format used by Metanorma is only readable by Microsoft Word
and not other Word-compatible software (such as OpenOffice), it is necessary
to convert the output to the Microsoft Word OpenXML .docx format
for distribution.
This post describes steps for saving DOCX files in both Windows and macOS using a real document example!
Post-processing Metanorma Word files in Windows
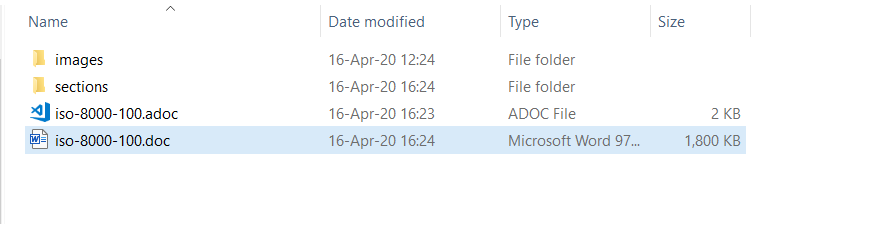
Generate the .doc file using Metanorma
Use Metanorma to generate the .doc file.
Convert .doc file into .docx
First of all you will want to re-save the .doc into .docx to
ensure any further changes are retained.
|
Note
|
If you directly save as the original .doc format, Word may
switch to “Web Layout” instead of “Page Layout”, which you can
change back to “Page Layout” under the “View” menu.
|
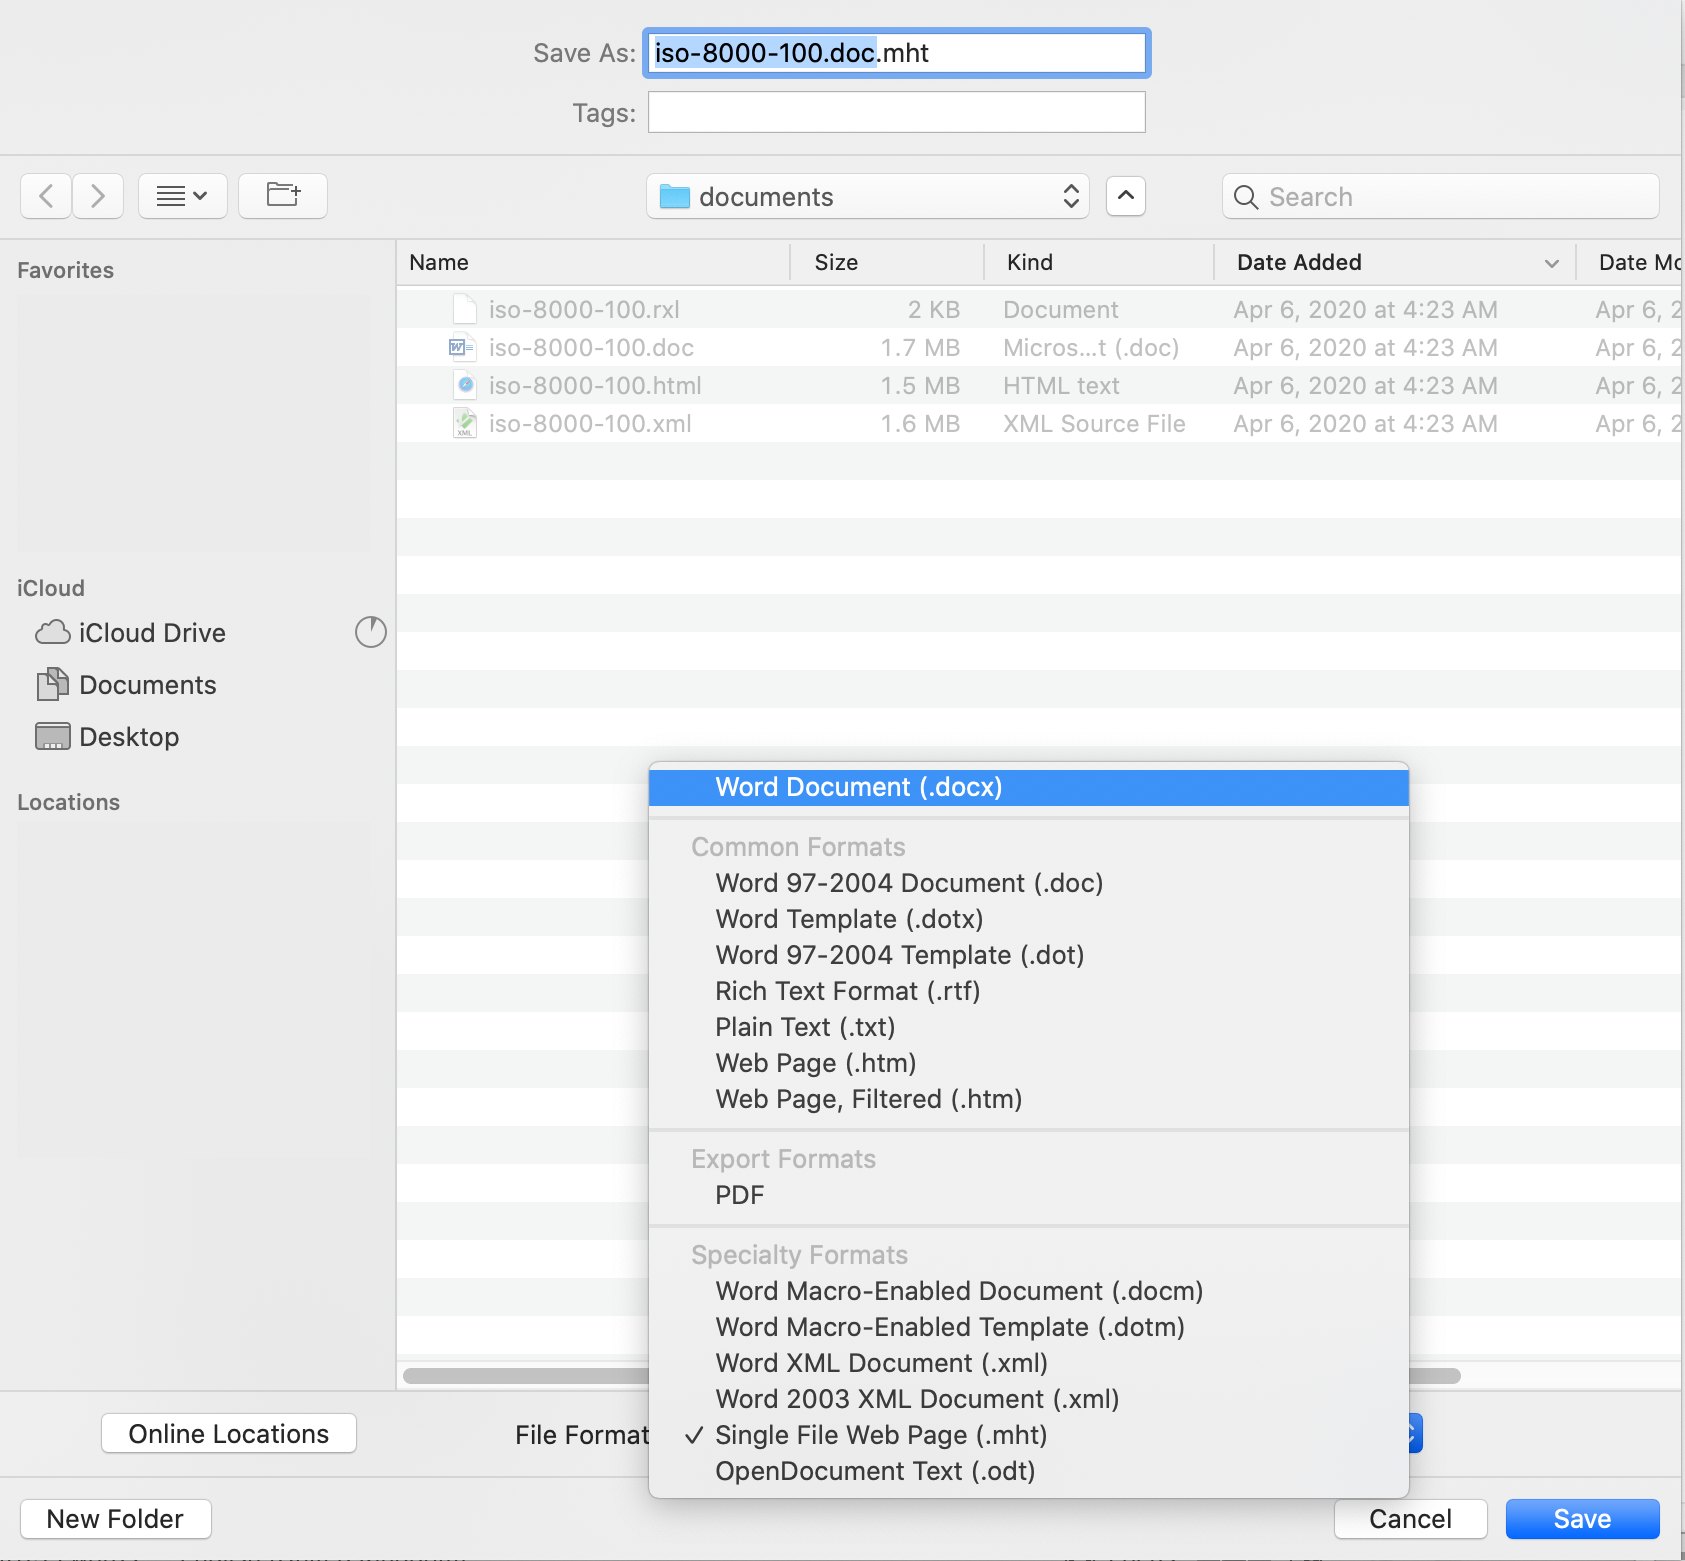
Open the generated Word .doc file.
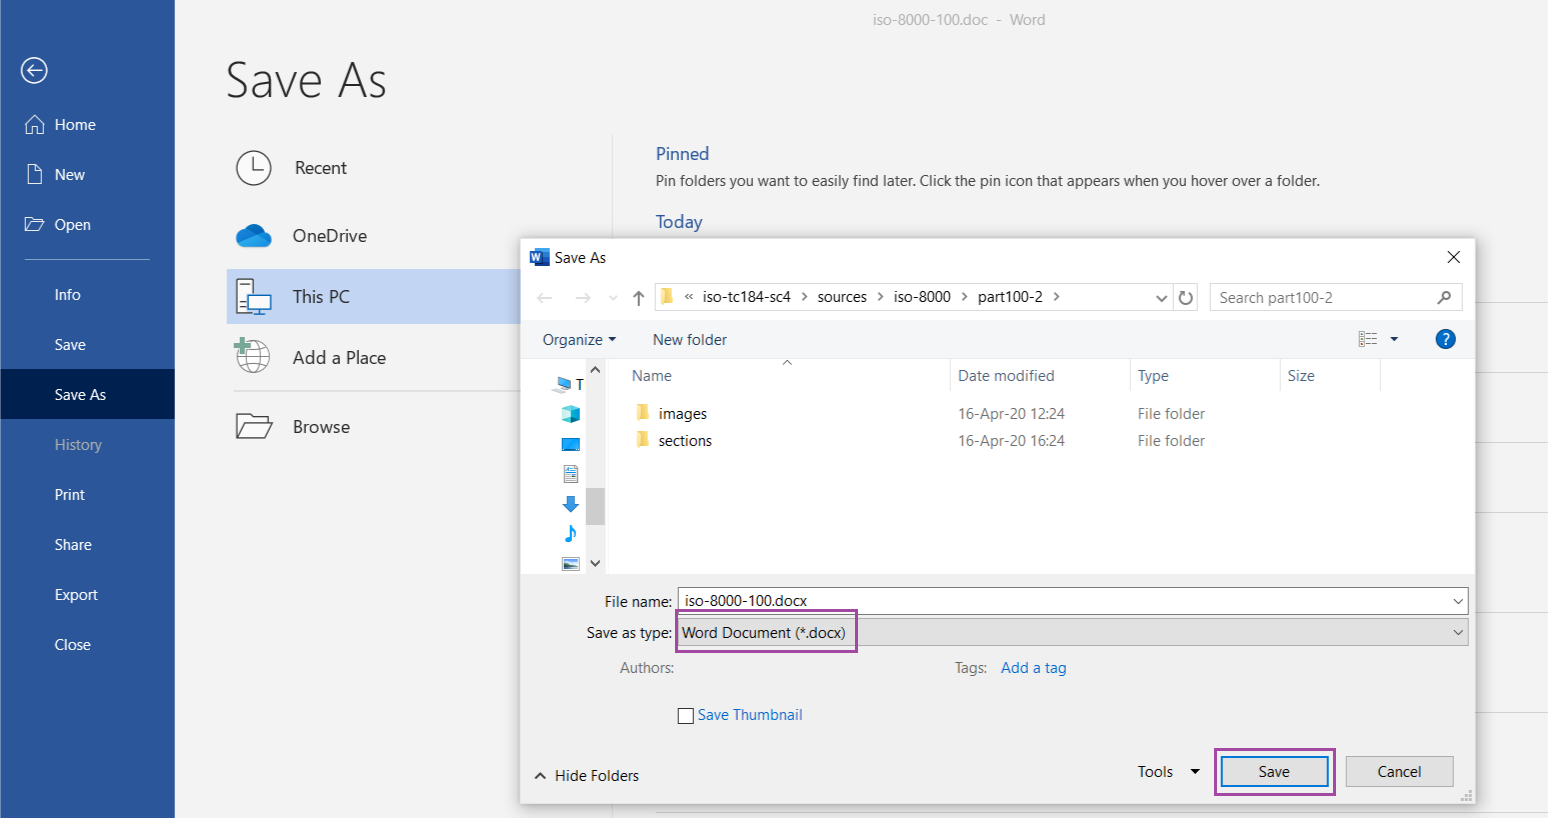
Click on the top bar menu “File” then “Save As…”.
In the “Save As…” dialog, change the file type to “Word Document (*.docx)”.
Then click “Save”.
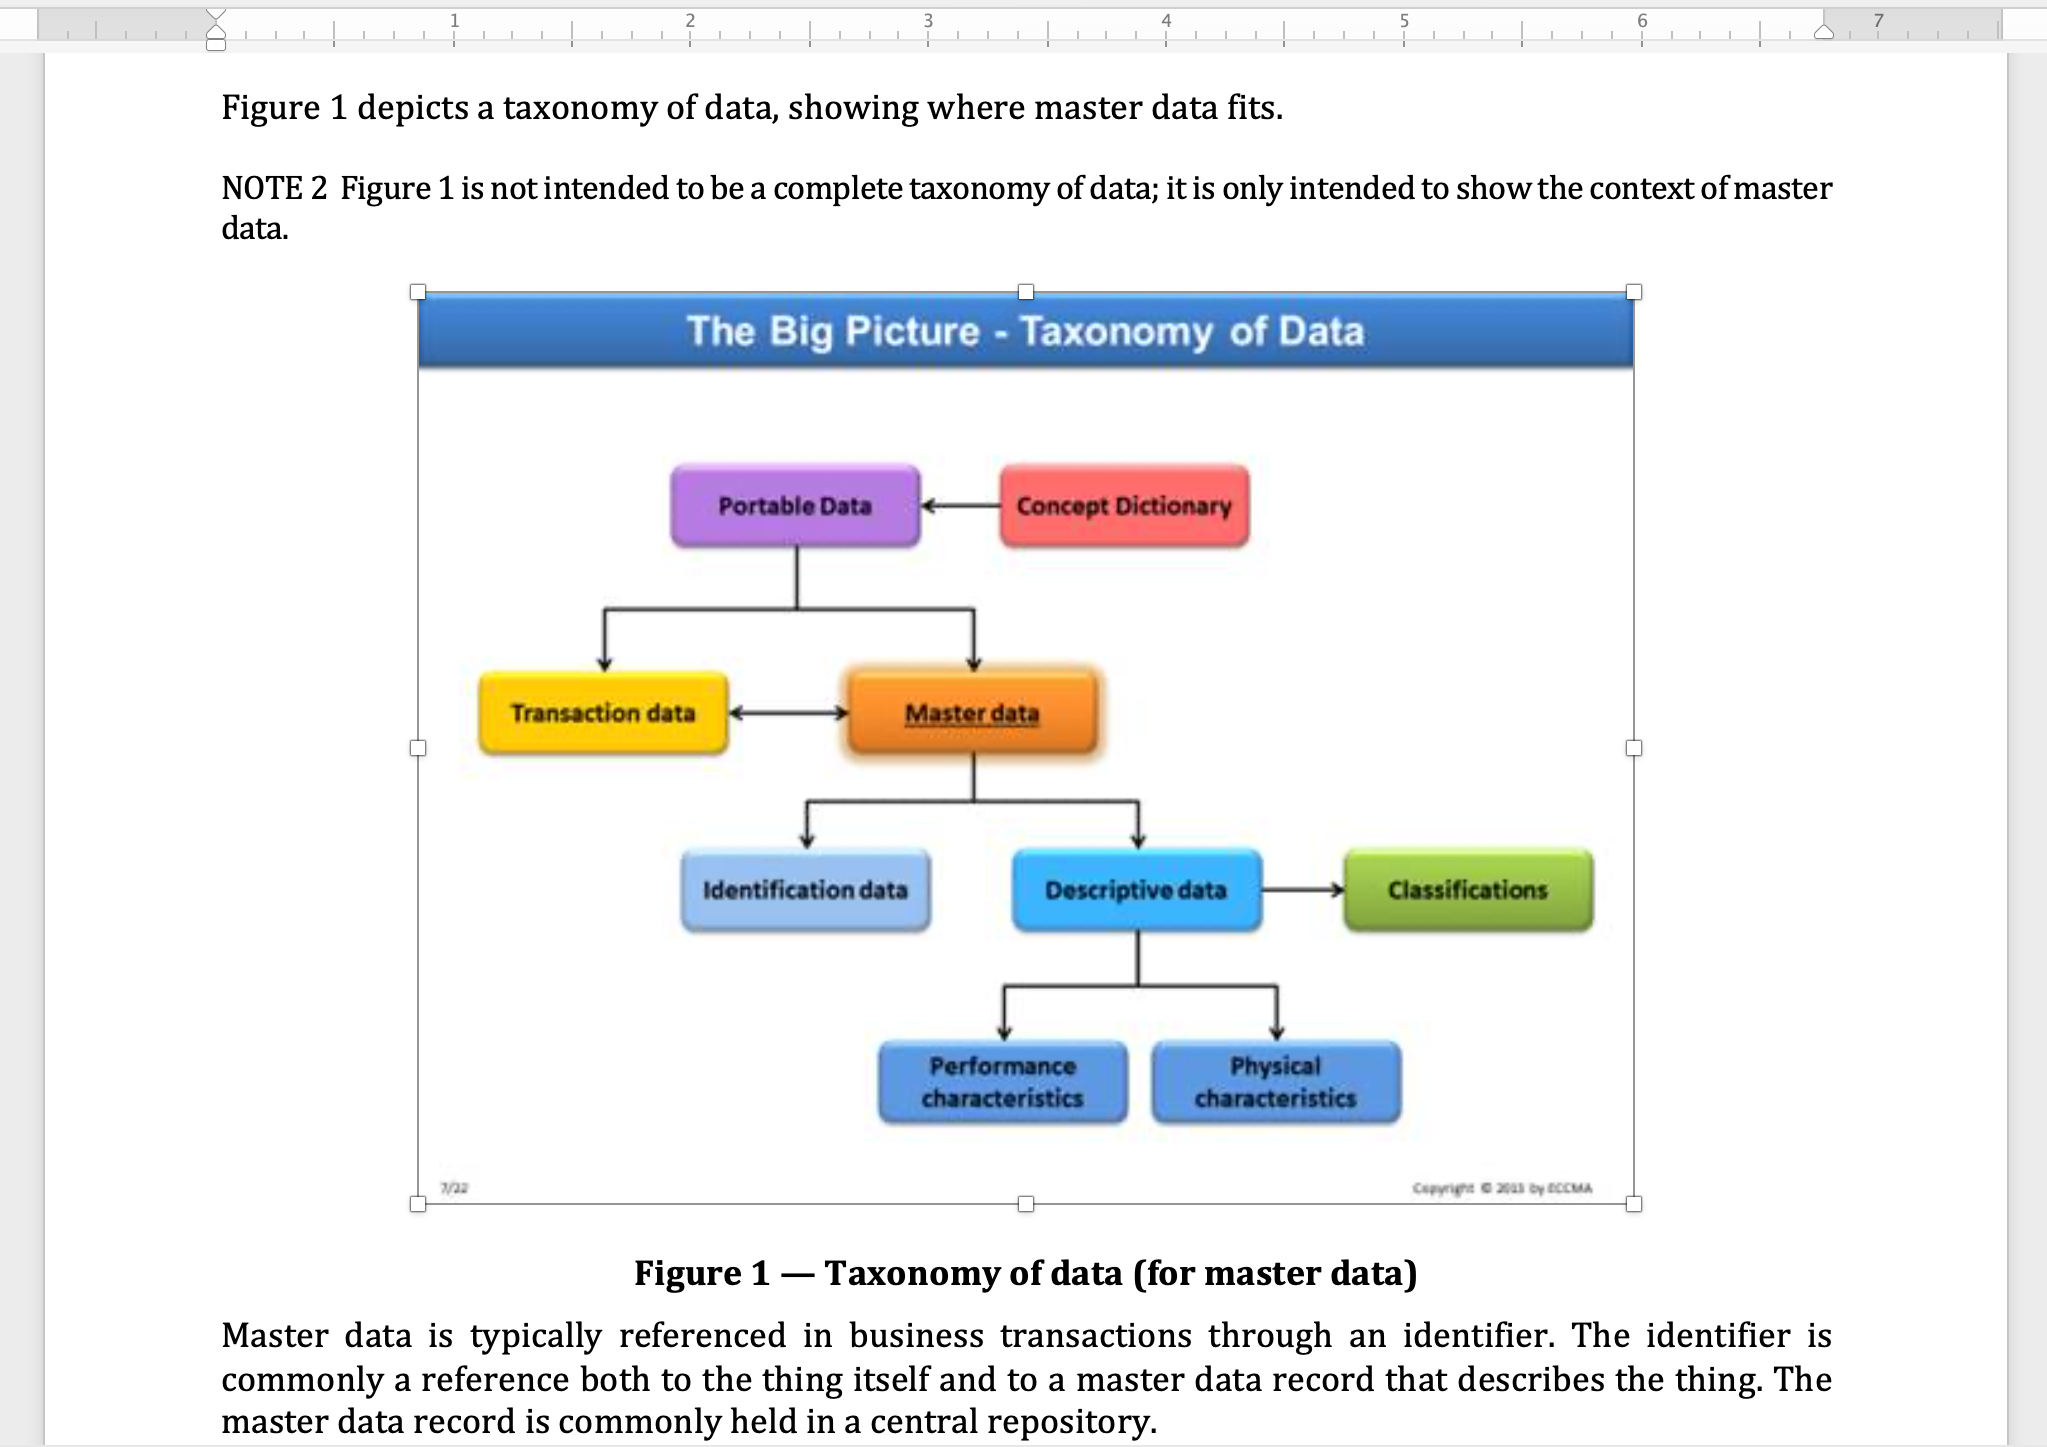
Content fixes: resizing images
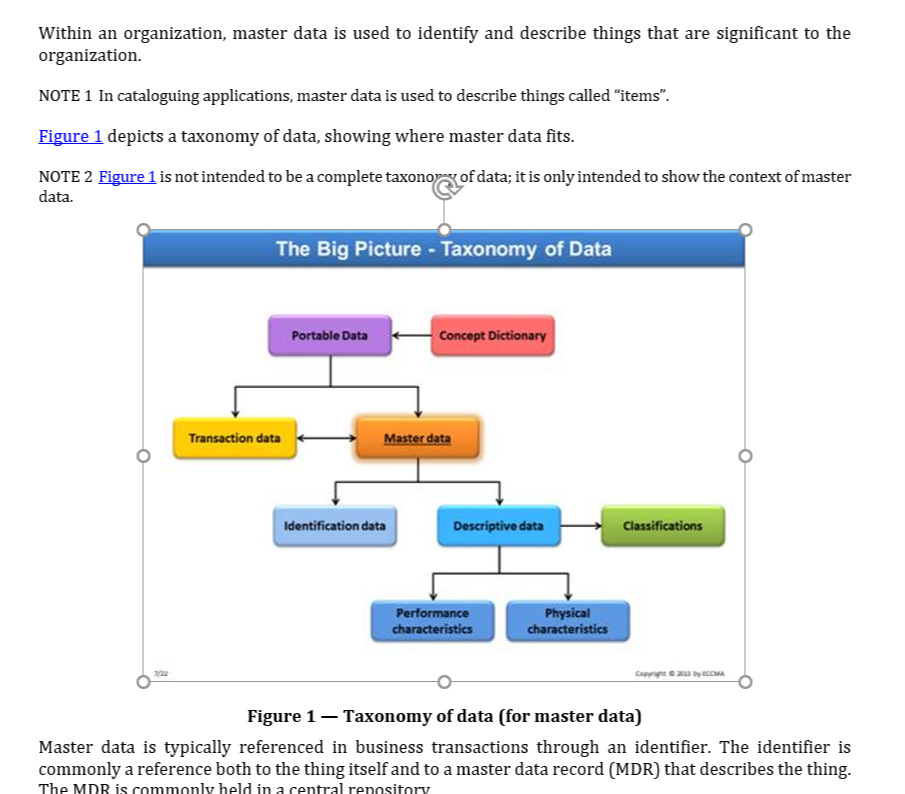
By default, images in the Metanorma generated Word file are stretched to full width of the page.
This is usually fine for wide images, but for narrower images you may want to shrink them to more readable sizes.
If there are any of such images you would have to shrink them manually, like this:
|
Note
|
You can set image widths inside Metanorma input! |
Content fixes: further touch-ups
It’s now a good time to double check the Word content to ensure the results match your expectations.
If there are any further changes or touch-ups you’d want to apply to the Word output, go ahead!
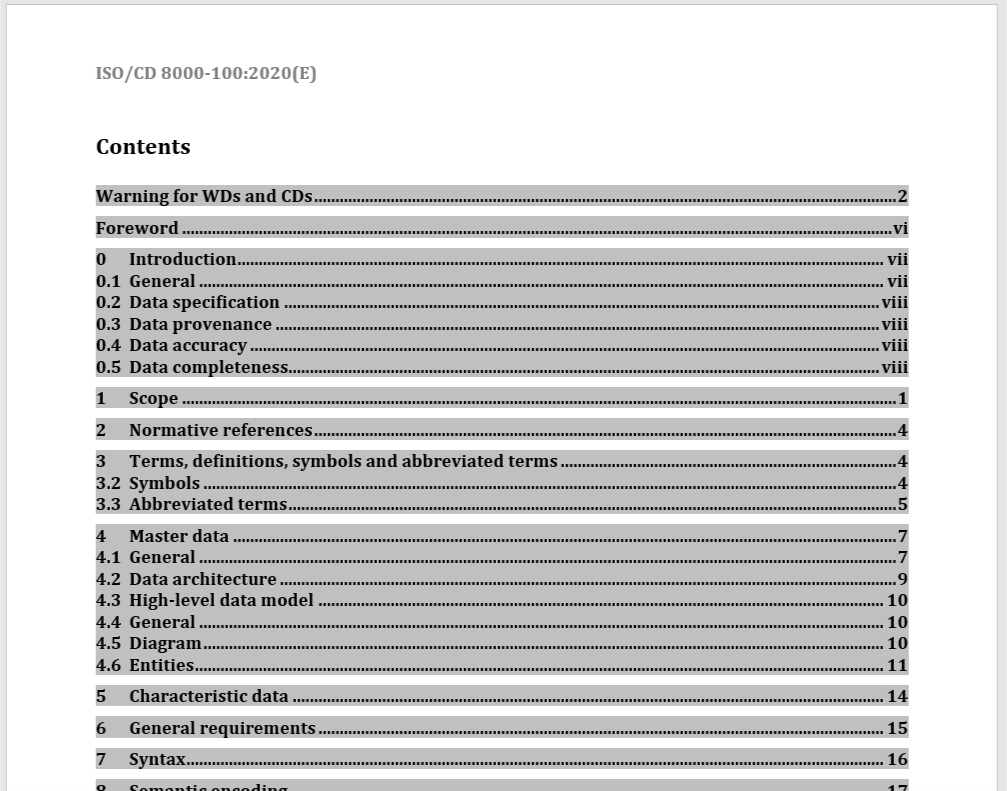
Updating the Table of Contents
After post-processing, we will need to update the Word indexes as per typical Word workflow.
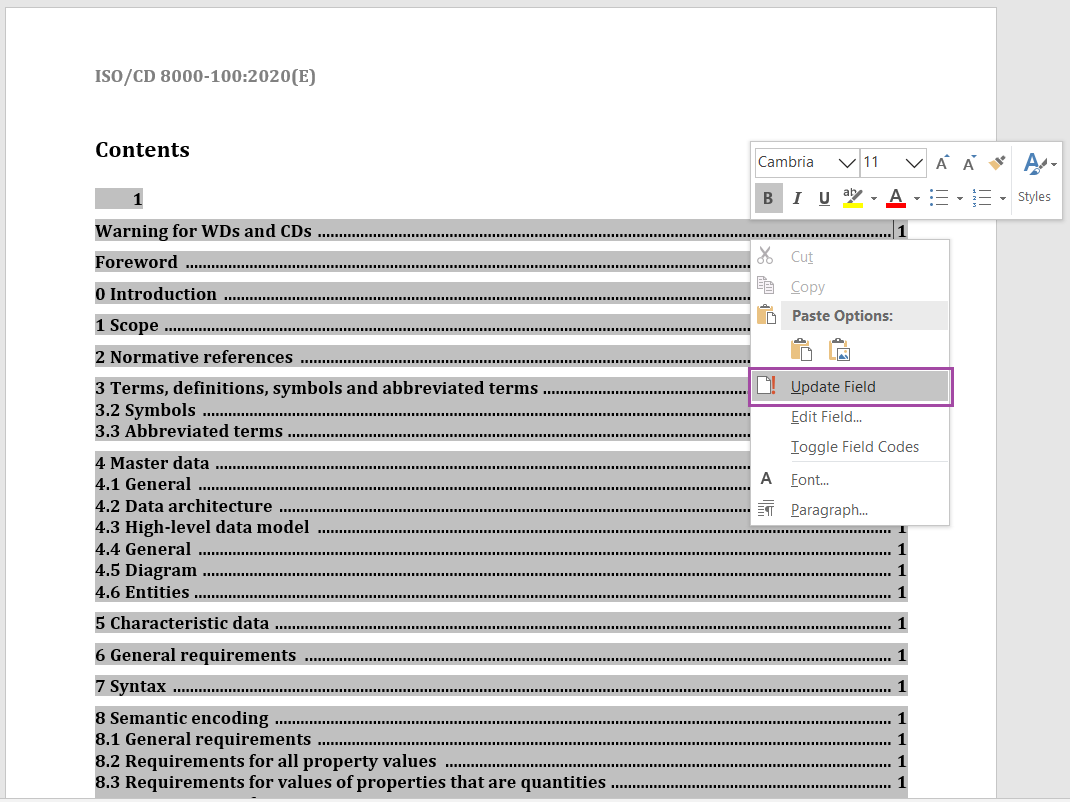
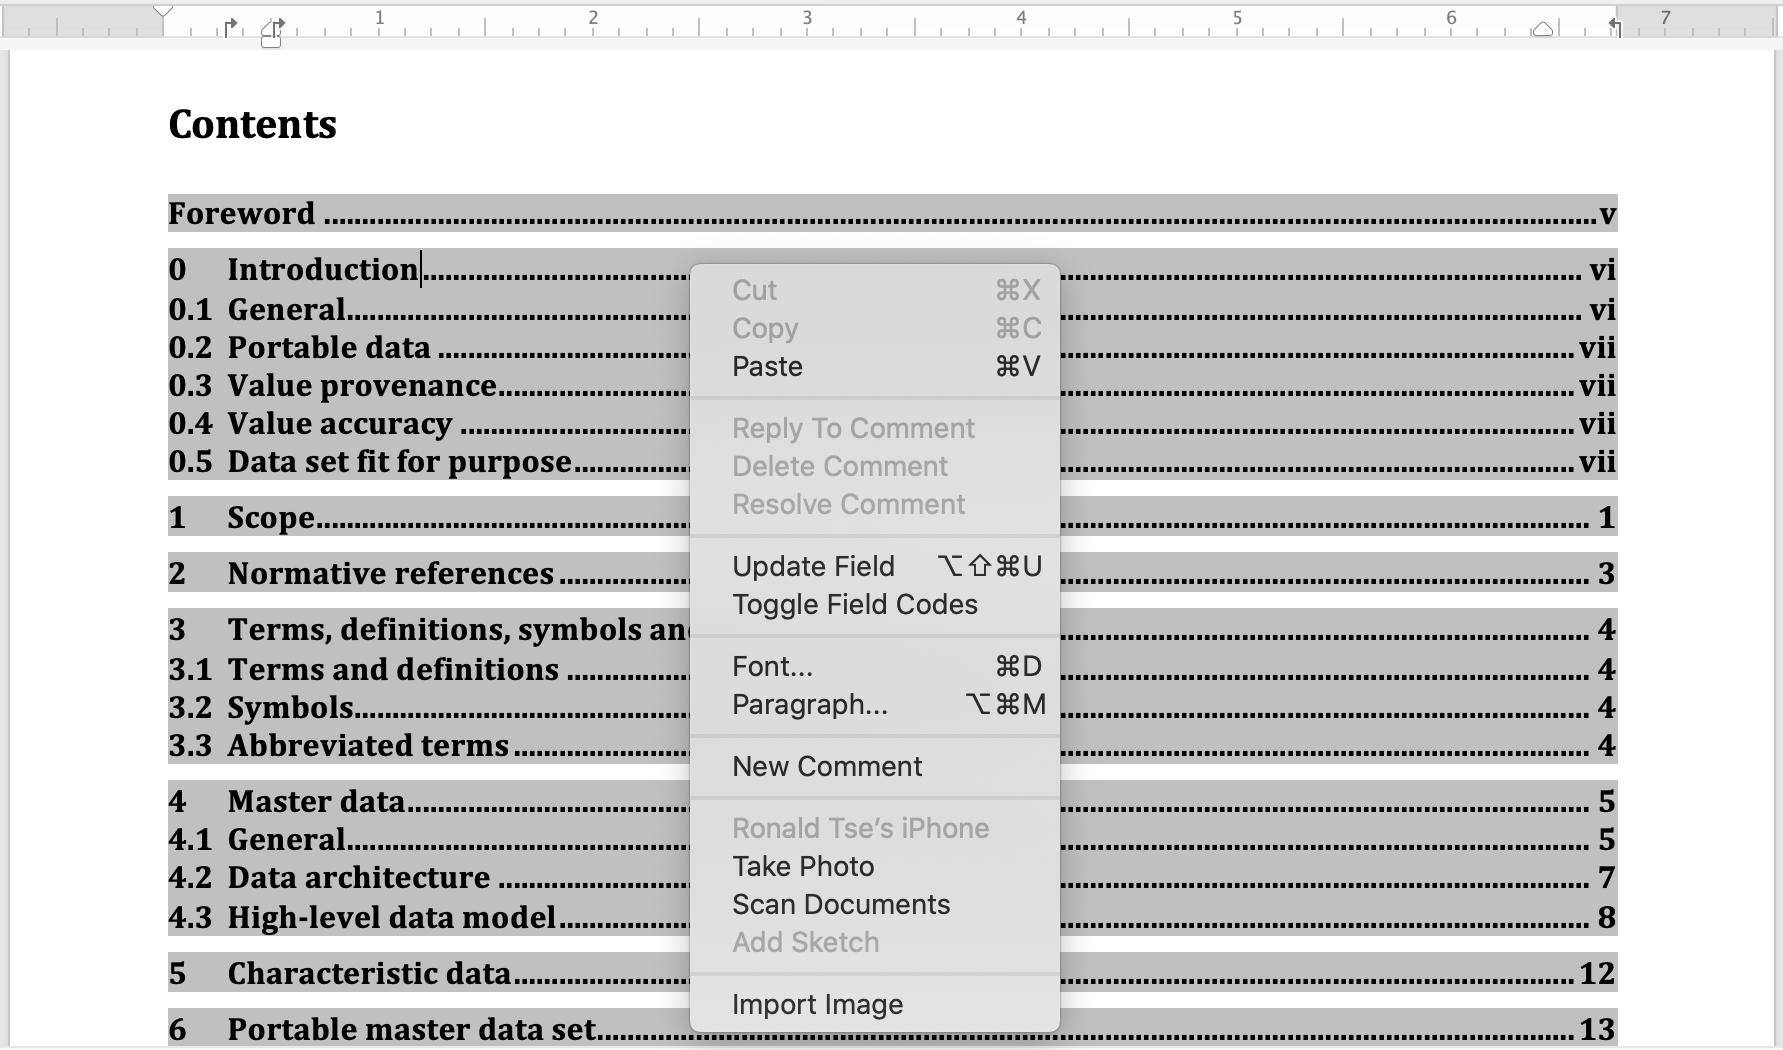
You will need to trigger an update of the Table of Contents manually.
Find the “Table of Contents”, right-click over its contents and click “Update Field”.
|
Note
|
Don’t forget to regenerate the “List of Tables” and “Lists of Figures” if they exist! |
|
Note
|
For more information on how to regenerate Word indexes, see “Update fields”. |
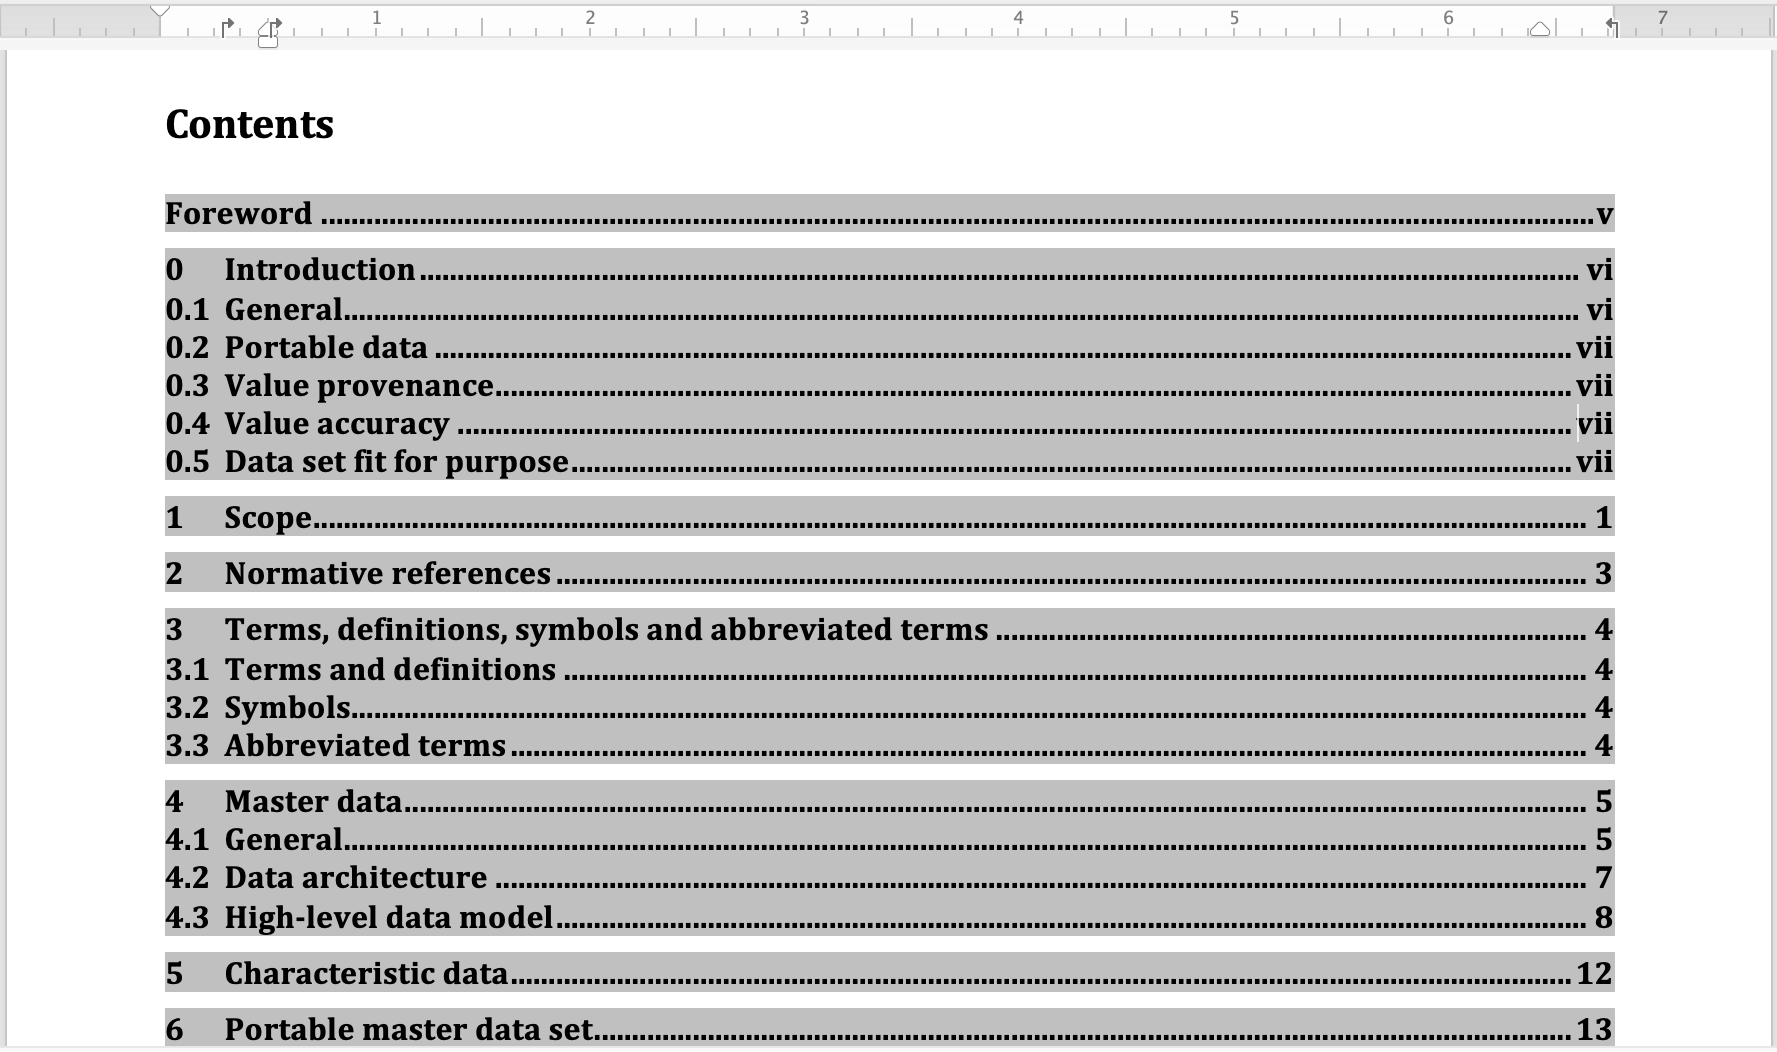
Here’s a screenshot of the updated Table of Contents:
Final save!
Finally we can save the .docx file and distribute it!
|
Note
|
Optionally save as PDF if you need PDF output. |
Post-processing Metanorma Word files in macOS
Generate the .doc file using Metanorma
Use Metanorma to generate the .doc file.
Convert .doc file into .docx
First of all, re-save the .doc into .docx to
ensure any further changes are retained.
|
Note
|
If you directly save as the original .doc format, Word may
switch to “Web Layout” instead of “Page Layout”, which you can
change back to “Page Layout” under the “View” menu.
|
Open the generated Word .doc file.
Click on the top bar menu “File” then “Save As…”.
In the “Save As…” dialog, change the file type to “Word Document (.docx)”.
Change the filename extension to .docx.
Then click “Save”. If Word prompts you to change the extension to .docx, accept it.
Content fixes: resizing images
By default, images in the Metanorma generated Word file are stretched to full width of the page.
This is usually fine for wide images, but for narrower images you may want to shrink them to more readable sizes.
If there are any of such images you would have to shrink them manually, like this:
|
Note
|
You can set image widths inside Metanorma input! |
Content fixes: further touch-ups
It’s now a good time to double check the Word content to ensure the results match your expectations.
If there are any further changes or touch-ups you’d want to apply to the Word output, go ahead!
Updating the Table of Contents
After post-processing, we will need to update the Word indexes as per typical Word workflow.
You will need to trigger an update of the Table of Contents manually.
Find the “Table of Contents”, right-click over its contents and click “Update Field”.
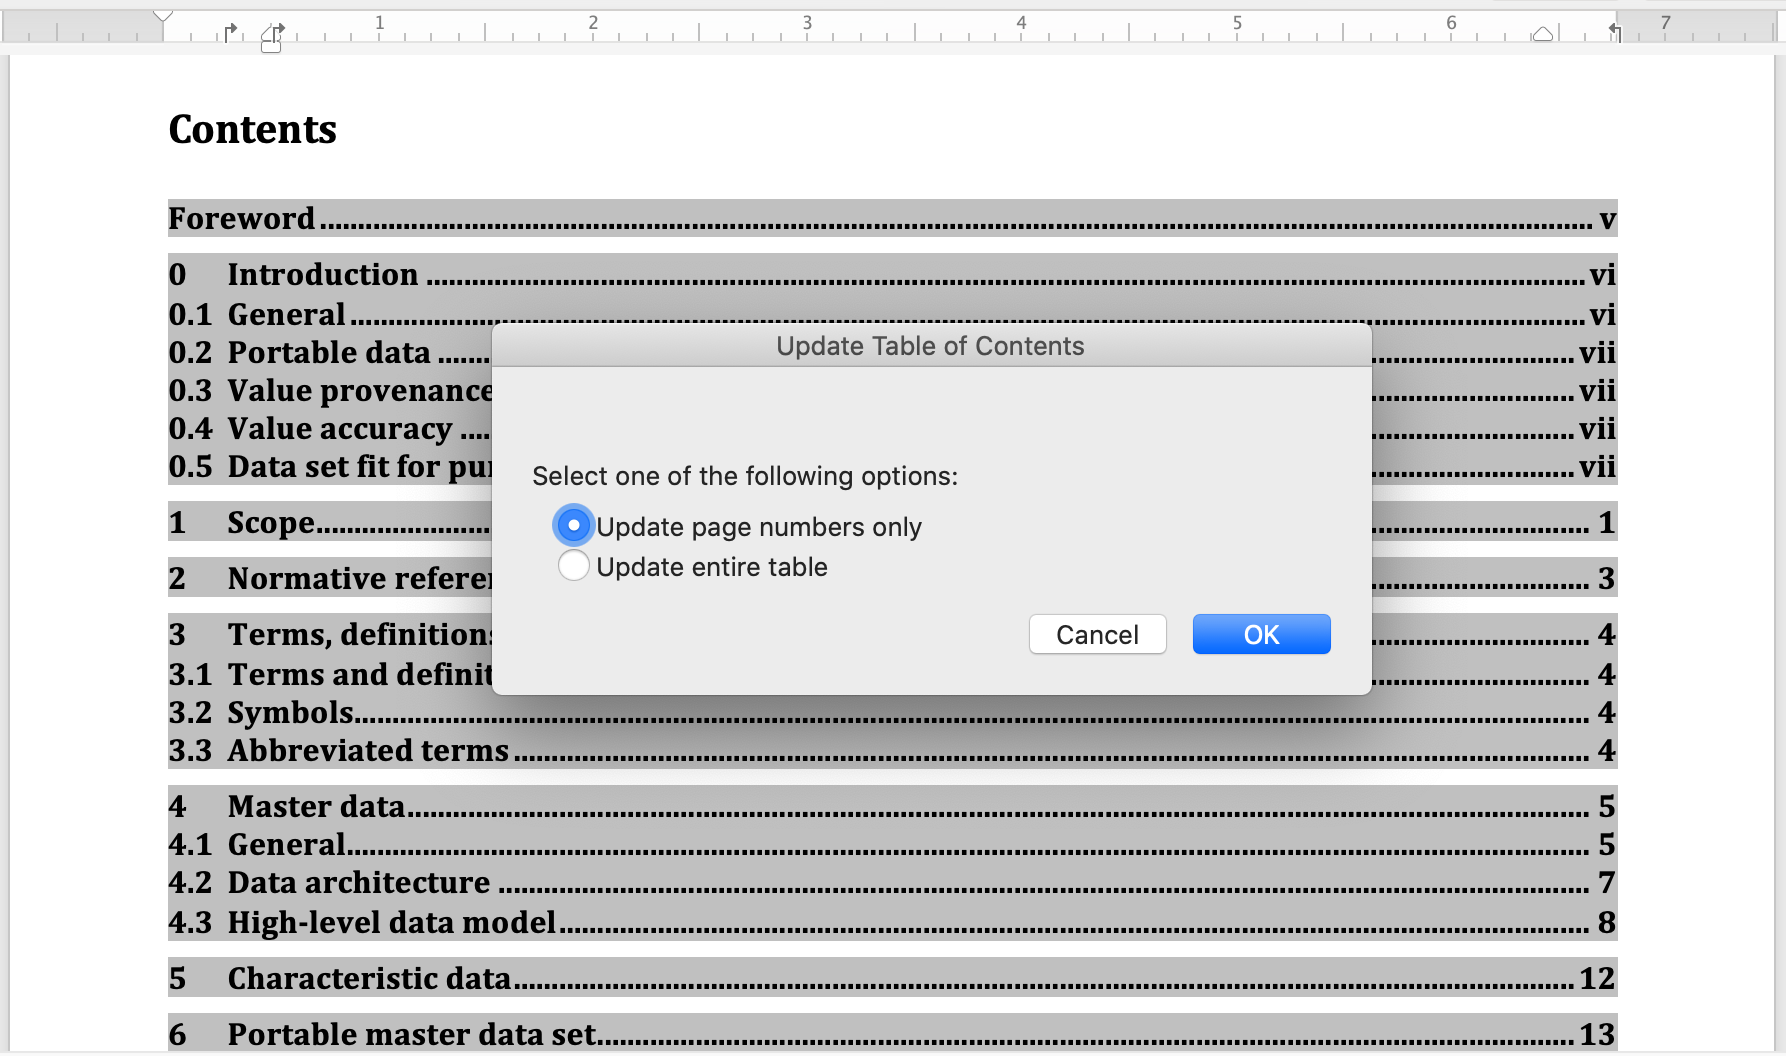
Sometimes Word shows you a dialog of “Select one of the following options:”, “Update page numbers only” or “Update entire table”, select “Update entire table” for a full refresh.
|
Note
|
Don’t forget to regenerate the “List of Tables” and “Lists of Figures” if they exist! |
|
Note
|
For more information on how to regenerate Word indexes, see “Update fields”. |
Here’s a screenshot of the updated Table of Contents:
Final save!
Finally we can save the .docx file and distribute it!
|
Note
|
Optionally save as PDF if you need PDF output. |